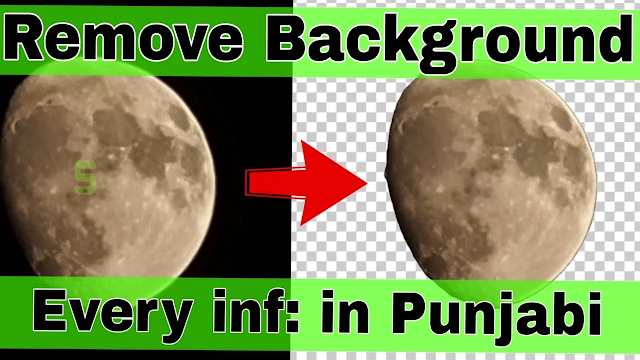
Why Remove Backgrounds?
Removing the background from images allows you to:
Create clean PNG files for logos, thumbnails, or presentations.
Add custom backgrounds to your photos.
Highlight the subject of an image for professional use.
With the Background Eraser app, you can achieve all this with ease on your Android device.
Step-by-Step Guide: How to Remove Image Background Using Background Eraser App
1. Download and Install the App
Go to the Google Play Store on your Android device.
Search for "Background Eraser" and install the app.
2. Open the App and Select Your Image
Launch the Background Eraser app.
Tap on Load a Photo and select the image you want to edit from your gallery.
3. Crop the Image
Use the crop tool to remove unnecessary parts of the image. Cropping helps in focusing on the subject and makes the background removal process easier.
4. Erase the Background
The app provides multiple tools to remove the background:
Auto Mode: Automatically detects and removes the background.
Manual Mode: Allows you to manually erase the background by brushing over the unwanted areas.
Magic Mode: Identifies edges and removes the background intelligently.
Zoom in for precision and adjust the brush size as needed for better accuracy.
5. Save Your PNG File
Once the background is removed, tap on Save to save the image as a PNG file. PNG files preserve transparency, making them ideal for design work.
Tips for Creating High-Quality PNG Files
Choose High-Resolution Images: Start with a clear and high-resolution image for the best results.
Fine-Tune Edges: Use the smoothing tool in the Background Eraser app to refine the edges of your subject.
Use a Transparent Background: Ensure you save the file as a PNG to maintain transparency.
Combine with Other Apps: Use editing apps like Canva or Pixlr to add custom backgrounds or further enhance your design.
Watch My YouTube Video Tutorial
For a step-by-step visual guide in Punjabi, watch my YouTube video:
How to Remove Image/Photo Background | Create PNG File in Punjabi | Background Eraser App
In this video, I explain how to use the Background Eraser app with practical examples, making it easy for beginners to follow.
Common Problems and Solutions
1. Background Not Fully Removed:
Use the manual mode to touch up areas that auto mode misses.
2. Edges Look Jagged:
Adjust the smoothing settings to make edges appear cleaner.
3. PNG File Not Transparent:
Ensure you save the file in PNG format. JPEG does not support transparency.
Internal Links for More Tips
If you’re interested in learning more, check out these related blogs:
Final Words
Removing image backgrounds and creating PNG files is no longer a complicated task, thanks to apps like Background Eraser. Whether you’re editing photos for personal use or professional projects, this skill can be incredibly useful. Follow the steps in this guide, watch my video tutorial, and start creating stunning images today!
If you found this blog helpful, please support me by reading my other blogs, subscribing to my YouTube channel, and sharing this guide with your friends. Your encouragement motivates me to create more valuable content.
Thank you for visiting my blog. Stay creative and stay connected!


Post a Comment